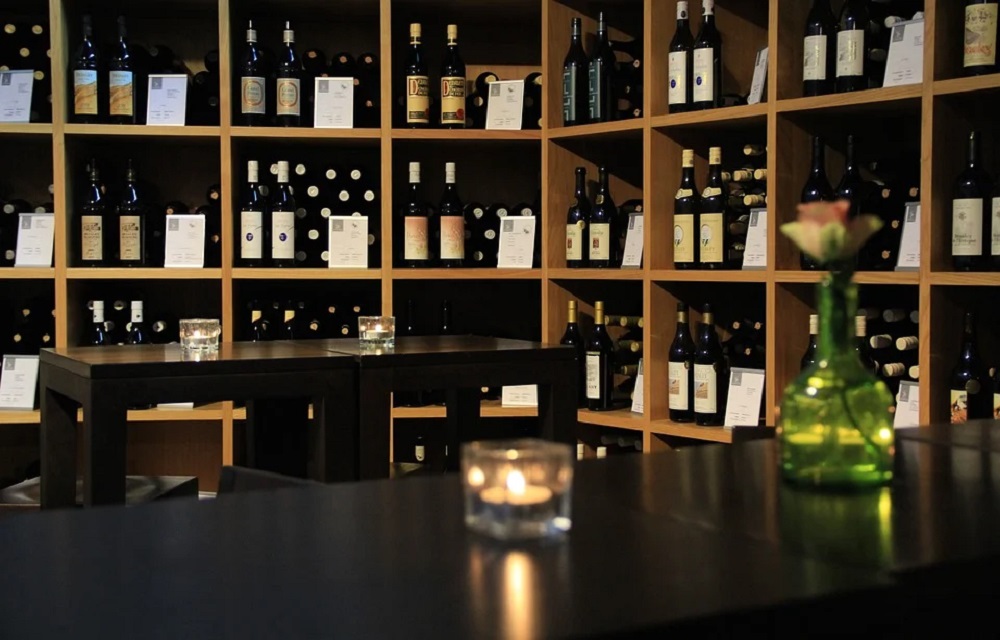
So you’ve gathered up quite the wine collection but don’t have anywhere to store them. If you have a room to spare then you may want to consider converting it into a wine cellar.
Not only will this give you a beautiful space for you to keep your wine, but it is also an extremely fun project where you can have complete control over the style so it suits your aesthetic.
Also, having your own tasting area will make it a great place for entertaining and showing off your collection!
We’ve gathered everything you need to know about building a wine cellar starting with why wine cellars are important before providing instructions on how you can convert your space into the perfect room for storing wine.
How to build a wine cellar
As always, the more complex and ornate your design is, the longer it will take to make and the more you will have to incorporate into your plan and consider.
However, no matter what your plan is, these basic instructions will cover the majority of processes that you will need to carry out in order to build your wine cellar.
Why are wine cellars important?
Wine cellars are important because they can help you to store your wine in a controlled environment as well as being the perfect place for you to have your own tasting sessions with family and friends.
If you’re wanting to store certain wines away for aging, wine cellars will ensure that they become enriched in flavor.
So what do wine cellars actually control? And what benefits does it provide?
The first thing that wine cellars control is the temperature. Ideally, your wine cellar should always be between 45 to 65 °F to preserve the flavor.
The second thing is the humidity which should always be between 50% to 80% to keep the corks wet as well as avoiding any mildew on the labels.
Ventilation allows you to maintain a consistent temperature throughout if you decide not to install an air conditioner.
Wine cellars should always be in darkened spaces with as little exposure to natural light as possible as UV rays can spoil the wine.
How to build a wine cellar

1.Build the walls
The first step is all about building the walls using lumber. This will allow you to add any further insulation to the walls later on. Also, bear in mind that you may want to incorporate light fixtures on the wall so it’s important to know where they will be installed in the next step as well as any light switches.
2.Lighting
Although wine needs to be stored in a darkened environment, you still need light in the room. Not only is this because the wine needs a small amount of light exposure but you’ll find it terribly difficult to get around if your wine cellar is in complete darkness.
In order to add lighting, you’ll need to add a junction box in the ceiling and then a switch on the wall. The amount of light you want in your cellar and the kind of lighting you opt for can compliment your personal style. For cellars that have some natural light seeping in, houseplants can help to control the humidity level.
3. Insulation
Insulation is an important part of this process as this will help to maintain a controlled temperature. This way the air conditioner isn’t solely relied on making it cost effective in the long run as well.
With a variety of different insulation options available, always consider the advice from a professional to see what kind of insulation will work best in your cellar. The size and shape of the room will determine what is best.
Insulation isn’t a compulsory step but it is highly advised. It will help you to keep control of the temperature and humidity levels in the room, especially if your wine cellar is based above ground.
4. Cladding
Once the insulation has been added, the cladding process is the next step. This is when sheetrock or plywood is added to the R value of the wall which in turns makes the temperature of your cellar consistent. Plywood is better overall because it will make it easier for you to add shelving. However, it can take a lot of time.
5. Insulating the door
An often overlooked step is door insulation. Once the walls, ceilings and floors have been insulated, the door is frequently left as is. However, the door is a hugely important component of any wine cellar.
Regular interior doors tend to be hollow and have gaps at the bottom. This means that the temperature and humidity may be compromised. Therefore, an insulated exterior door or a solid interior door that has no gaps will prevent any warm air getting to the wine.
The former is the better and stronger choice, however, the latter is cheaper which suits those with a stricter budget. If you choose a solid interior door, make sure you add weather stripping just so you can be sure that you are not compromising the quality of the wine.
6. Finishes
Now we’re onto the fun bit which is when you need to complete your floor and wall finishes. Depending on your style, you may want a spacious design with scattered and uneven shelves or opt for a traditional style with lots of ornate sections for different types of wine.
This is where you can channel your creative side and experiment with style. If you are working on a stricter budget, you can have a more basic finish for now. Later on you can work on a more ornate and detailed interior later down the line. The important thing is that you have created an optimum environment for your wine.

